GDES3003 – Hand In

GDES3003 – GREEN DESIGN

MAJOR BRIEF – HAND IN

So tomorrow is hand in day!  Phew, what a relief… It’s been an action packed module that’s for sure.  I have thoroughly enjoyed it and can honestly see the value in it.  We all have a responsibility to do our bit, and this module has certainly challenged me to be more conscientious.

I think green design/thinking will become more and more prevalent in the creative industries, particularly in packaging design and this module has given an excellent foundation to build upon.

My final few pictures show my presentation board, learning report and a printed version of the e-resources (I designed extra (non essential) pages for the print version).

GDES3003 – Screen Printing

GDES3013 GREEN DESIGN

Screen Printing 3D Artefact

Today I screen printed the design onto my pizza packaging.  I had only screen printed once prior to this and that was a while ago and so I was a little concerned that I may have been too ambitious with my design.  As it turns out, the process is actually quite intuitive and very enjoyable, so I will definitely be experimenting more in the future.

  1.   The artwork needs to be prepared in layers, one for each colour which will then have it’s own screen. The artwork has to then all be black and at 300dpi for the highest quality line work.
  2. Each layer is then printed onto high quality acetate film that the technicians have on campus.  I’m told it’s a special construction that is actually made up of millions of minuscule tubes that hold the ink perfectly.
  3. The screens are prepared using emulsion, which needs time to dry before exposure.
  4. The acetate is then exposed to a silk screen using a special machine that vacuum’s all of the air out to ensure there is no light leak.
  5. After 120 seconds the screen is exposed.  Then you have to wash the solution of the screen in the water spray booth.  By holding it up to the light you can check that artwork looks correct,and has no marks or solution left on it.  Then the screens are dried off and are ready for use.
  6. Any exposed areas, such as the edges of the screen or areas that you don’t want to print are covered with waterproof tape.
  7. The ink/paint is a mix of acrylic paint, screen printing solution and water until the consistency is just runny enough to go through the screen.
  8. Ink is placed on the screen, along the top of the artwork before being “loaded”.  This is when you pass the ink over the artwork to start the flow.
  9. Whatever you are printing onto, in my case my packaging, then needs to be aligned.  This is done using tape and markers.  The screen printing table has suction, so when you are aligned and start to lower the screen, the bed sucks the paper/card onto it.
  10. Once the screen is loaded with ink and lowered down onto the bed, you can start printing.  This is done by angling the squeegee to 45 degrees and pressing down firmly until the screen touches the material, then pulling towards you in a fairly swift motion.  As you raise the screen you re-load it by running the squeegee back to the top.
  11. At this stage you check the print to admire your handy work.  I printed several copies so that I could choose the best one’s to hand in at the end.
  12. This process is then repeated for each colour until complete, making sure to clean the screens after each pass so that the ink doesn’t dry on the screen.
  13. The prints are then left to dry on the rack & voila…. done!


GDES3003 – Final prototype & artwork

GDES3003 – Green Design

Final Prototype

I have spent some time now further refining the design of my pizza slice wedge, mainly in terms of aesthetic design.

I have decided that in order to get a professional looking final artefact I should screen print the design directly onto the card.  There are several reasons for this, firstly the card is too thick to go through a printer, secondly as I want my design the include white ink to make it striking against the brown of the card material it is being made out of.

With this in mind, I created a digital mock-up of the artwork to simulate how it would look on a card background.

Slice-artwork-v1.4.jpg

Mockup of artwork for my pizza slice holder packaging 

As I am screen printing my design I had to think about layers and grouping elements together as an individual screen will be used for each colour.  I figured that this would also be a good way to keep costs down in the manufacture process.  Although I will be using standard inks for my final prototype as that is all that is available to me, in production I would use vegetable based inks to make the packaging completely sustainable.

As for the seed paper, again my prototype will only suggest this as unfortunately the paper is quite expensive and often sourced from overseas so would take too long to arrive.

In preparation for the screen printing tomorrow, I have created a number of ready cut blank templates for the design to be screened onto.  In the picture you can also see the inspiration for my final artwork.


GDES3003 – Centre for Alternate Technology visit – Nov 12th ‘15

GDES3003 – GREEN DESIGN

CAT visit – 12th November 2015

This week our little group huddled together on a rather cosy cross country mini-bus trip to the Centre for Alternate Technology (CAT) in Powys, Wales.

A brief uphill walk from the carpark (the water powered cable-car/lift was out of order) saw us entering the centre.

It was really interesting to see the number of different initiatives and technologies that were in use at the centre.  The only downside being that we barely had time to look at anything as headed straight to the restaurant area for a bite to eat, before being taken into the Sheppard lecture hall for a talk by Ann, one of CAT’s lecturers.

The walls of the lecture theatre were of particular interest as they are made from compacted mud (mud, clay, grit composite) which is extremely hard and structurally strong, not to mention aesthetically very beautiful.  The walls are designed to store heat and also feature a number of vents with sensors in that regulate the temperature in the theatre.  The whole centre is built to be ‘low impact’ with materials sourced locally.

The roof was of particular interest to me as it features a circular cover that can be rotated to reveal a skylight that allows more natural light into the theatre.  It features a really clever pivot and rail system that allows it to spin into/out of place.

The lecture also featured a wider remit of issues for us to consider and discuss, from climate change, eco footprint and bio-diversity reports as well as a number of on screen charts and infographics that showed the effects of climate change over time and by nation.

It was also interesting to learn how they have a computerised booking system for the lecture theatre, from this they are able to regulate the heating so that the room is only warmed as needed and so energy is not wasted when the room is not in use.

References

I took note of a few interesting websites, which I have referenced below:

Hans Roslings’ Gapminder – http://www.gapminder.org

Laura’s Larder – http://blog.cat.org.uk/category/lauras-larder/

WWF Carbon footprint calculator – http://footprint.wwf.org.uk

WWF Biodiversity – http://wwf.panda.org/about_our_earth/biodiversity/

If Bee’s were lost we’d be done for in 3 years!

The above statement was made during the lecture, I’m not sure where it originated but it’s interesting and so I did a little investigation and found this really interesting article :

http://nativeplantwildlifegarden.com/will-we-all-die-if-honey-bees-disappear/

They also had a cob oven and social eating space around it on site.  I made sure to take photographs as this is obviously of particular interest given our current brief.  I was particularly interested in the space around the cob oven and how CAT had opted to create a seated area and the create a cover over the entire space.

To name but some of these themes (there were loads more):
Perceived obsolescence (phones etc), properties of materials, energy efficiency (inc Cob Ovens), climate change, Zero Carbon Britain, The Living Planet Report 2015, Hans Rosling/Gapminder/his mother’s washing machine (TED Talk video), quality of life, decarbonising the economy, travel & food (the most contentious aspect?), Laura’s Larder, the FairPhone (& it’s sustainable packaging), the largest users of resources per person (countries, Living Planet report), the future viablility of air travel, Nuclear Power vs renewables – costings, government cuts/impacts, rammed earth buildings, the Sheppard Theatre/it’s heating/cooling methods, locality of materials.. The list goes on..

(The above is taken from our module blog, but it gives a good overview of subjects that were covered on the day that I may not have mentioned).

Photographs

I also took a number of photographs whilst I was which can be found by following the link below (Couldn’t include them all on this blog due to upload restrictions).

Check my Flickr album here – CAT Trip Photo’s 12/11/15


GDES3003 – Green Design – Main Brief Research & Roughs

GDES3003 – GREEN DESIGN

Main Brief Research 3 – Packaging (Green & Otherwise)

Definition of Sustainable Packaging

The criteria presented here blend broad sustainability and industrial ecology objectives with business considerations and strategies that address the environmental concerns related to the life cycle of packaging. These criteria relate to the activities of the packaging value chain and define the areas in which we actively seek to encourage transformation, innovation, and optimization. We believe that by successfully addressing these criteria, packaging can be transformed into a closed loop flow of packaging materials in a system that is economically robust and provides benefit throughout its life cycle—a sustainable packaging system.

Sustainable packaging:

  1. Is beneficial, safe & healthy for individuals and communities throughout its life cycle
  2. Meets market criteria for performance and cost
  3. Is sourced, manufactured, transported, and recycled using renewable energy
  4. Optimizes the use of renewable or recycled source materials
  5. Is manufactured using clean production technologies and best practices
  6. Is made from materials healthy throughout the life cycle
  7. Is physically designed to optimize materials and energy
  8. Is effectively recovered and utilized in biological and/or industrial closed loop cycles

(Source – http://sustainablepackaging.org/uploads/Documents/Definition%20of%20Sustainable%20Packaging.pdf)

Further research on sustainable packaging can be found in one of my previous blog posts – See here

Sustainable Packaging Materials

The company London Bio Packaging produce all manner of eco food packaging products.  Some of the more popular materials are:

  • Bio Plastics – Plastics made from plants
  • Plant Starch – Plant Starch Material (PSM) is a flexible bio based packaging material which has not been refined into a bio-plastic
  • Sugar Bagasse – Waste material produced once sugar cane has been harvested for the sugar syrup is called bagasse
  • Recycled Plastic – rPET (recycled polyethylene terephthalate) is the most common plastic that is being recycled back into primary applications
  • Recycled Paper – Sustainable forest paper ensures that the forests from which the paper comes and managed so as not destroy the forest, to promote biodiversity and protect any indigenous peoples
  • Forest Wood – wooden products are made from renewable plant resource which can be formed into a variety of packaging and products
  • Palm Leaf – Products are natural, compostable and biodegradable. They are very stylish, tough and heat resistant

Palm leaf is really interesting as it has the potential to be very beautiful, hard wearing and is completely sustainable and natural.

London Bio describe it as:  Wholeleaf products have no pulp, no starch, just a washed and pressed leaf. The palm leaf itself varies in thickness from 2 to 4mm, as well as in colour and pattern, so you will find that they vary in thickness, colour and pattern too.

Detailed information can be found here – LondonBioPackaging

(Source – http://www.londonbiopackaging.com/about-our-products/our-materials/)

Pizza Box Design

As one of the most simple and appealing (especially to students) meals it is possible to prepare using the cob oven, I decided to focus my attention on ideas for pizza box design.

As usual I set up a Pinterest board to collate the designs that I found most interesting, or gave me inspiration to execute my own ideas.  A selection of ideas I like can be seen below.

Screen Shot 2015-11-07 at 18.07.54

Initial Rough’s

I then set about creating a few thumbnail sketches based on my initial thoughts/ideas.  I think at this stage I will need to revisit these ideas and think again as at this stage I haven’t had a ‘eureka moment’.  There are a couple of ideas that with further development and consideration of material could offer potential though.


GDES3003 – Major Brief – Research Part 1

GDES3003 – GREEN DESIGN – MAJOR BRIEF

Initial Research – Part 1 – All about that Cob!

Matthew Lloyd – The Fabulous Cob Oven Company

What is a Cob Oven?

A cob oven is a centuries-old way of baking.  Perfect, then, for the 21st Century foodie.

Cob is a material with a clean conscience. Using the clay from under our feet, mixed with sand and straw, it has been a staple building material to millions across the globe for millennia.
In the Americas they call it adobe. No energy-hungry cement is used in the mix, and no machinery is required for construction. This is a truly accesible and sustainable method of building that connects us to our environment, and nourishes both our soul and our body.

Wood-fired ovens are becoming a foodie must-have.  Your roasts will be succulent and your pizzas will cook in seconds. Nothing beats a cob oven for the centre of attention at a party. Everyone will want to try their hand at baking a pizza, and will gather around the oven long into the night.

Burning wood is a low carbon process. No fossil fuel here. This is sustainable cooking, and if you burn fruit woods you’ll be adding a very special accent to your dishes indeed.

A cob oven isn’t just about pizza. You’ll be baking bread, roasting vegetables, broiling meats – the only limit is your imagination. Learn to embrace this relaxed style of cooking, and you’ve got yourself an evening’s entertainment that will have you heading back to the larder in search of more ingredients to try out.

(Source – the Fabulous Cob Oven – 05/11/15)

  • COB refers to the mixture of clay, sand & straw that has been used for thousands of years.  It uses all natural materials and is very easy to build.

Matthew talks passionately about his love of Cob Ovens and after successfully completing a build with a local Primary School, the values inherent in education.

…share the love of cob ovens and show how they have the potential to inform, educate and entertain children as part of their outdoor learning experience.

He even built his own ‘straw bail’ studio, which is an interesting subject that could tie into the overall social space build we are looking at.

I have given talks and workshops on straw bale construction. It’s an amazing system – I followed the simple recipe designedby Barbara Jones of Amazonails for a load bearing structure. It far surpassed my expectations, and I want to do it again, and make it my home.

Observations of the Fabulous Cob Oven website

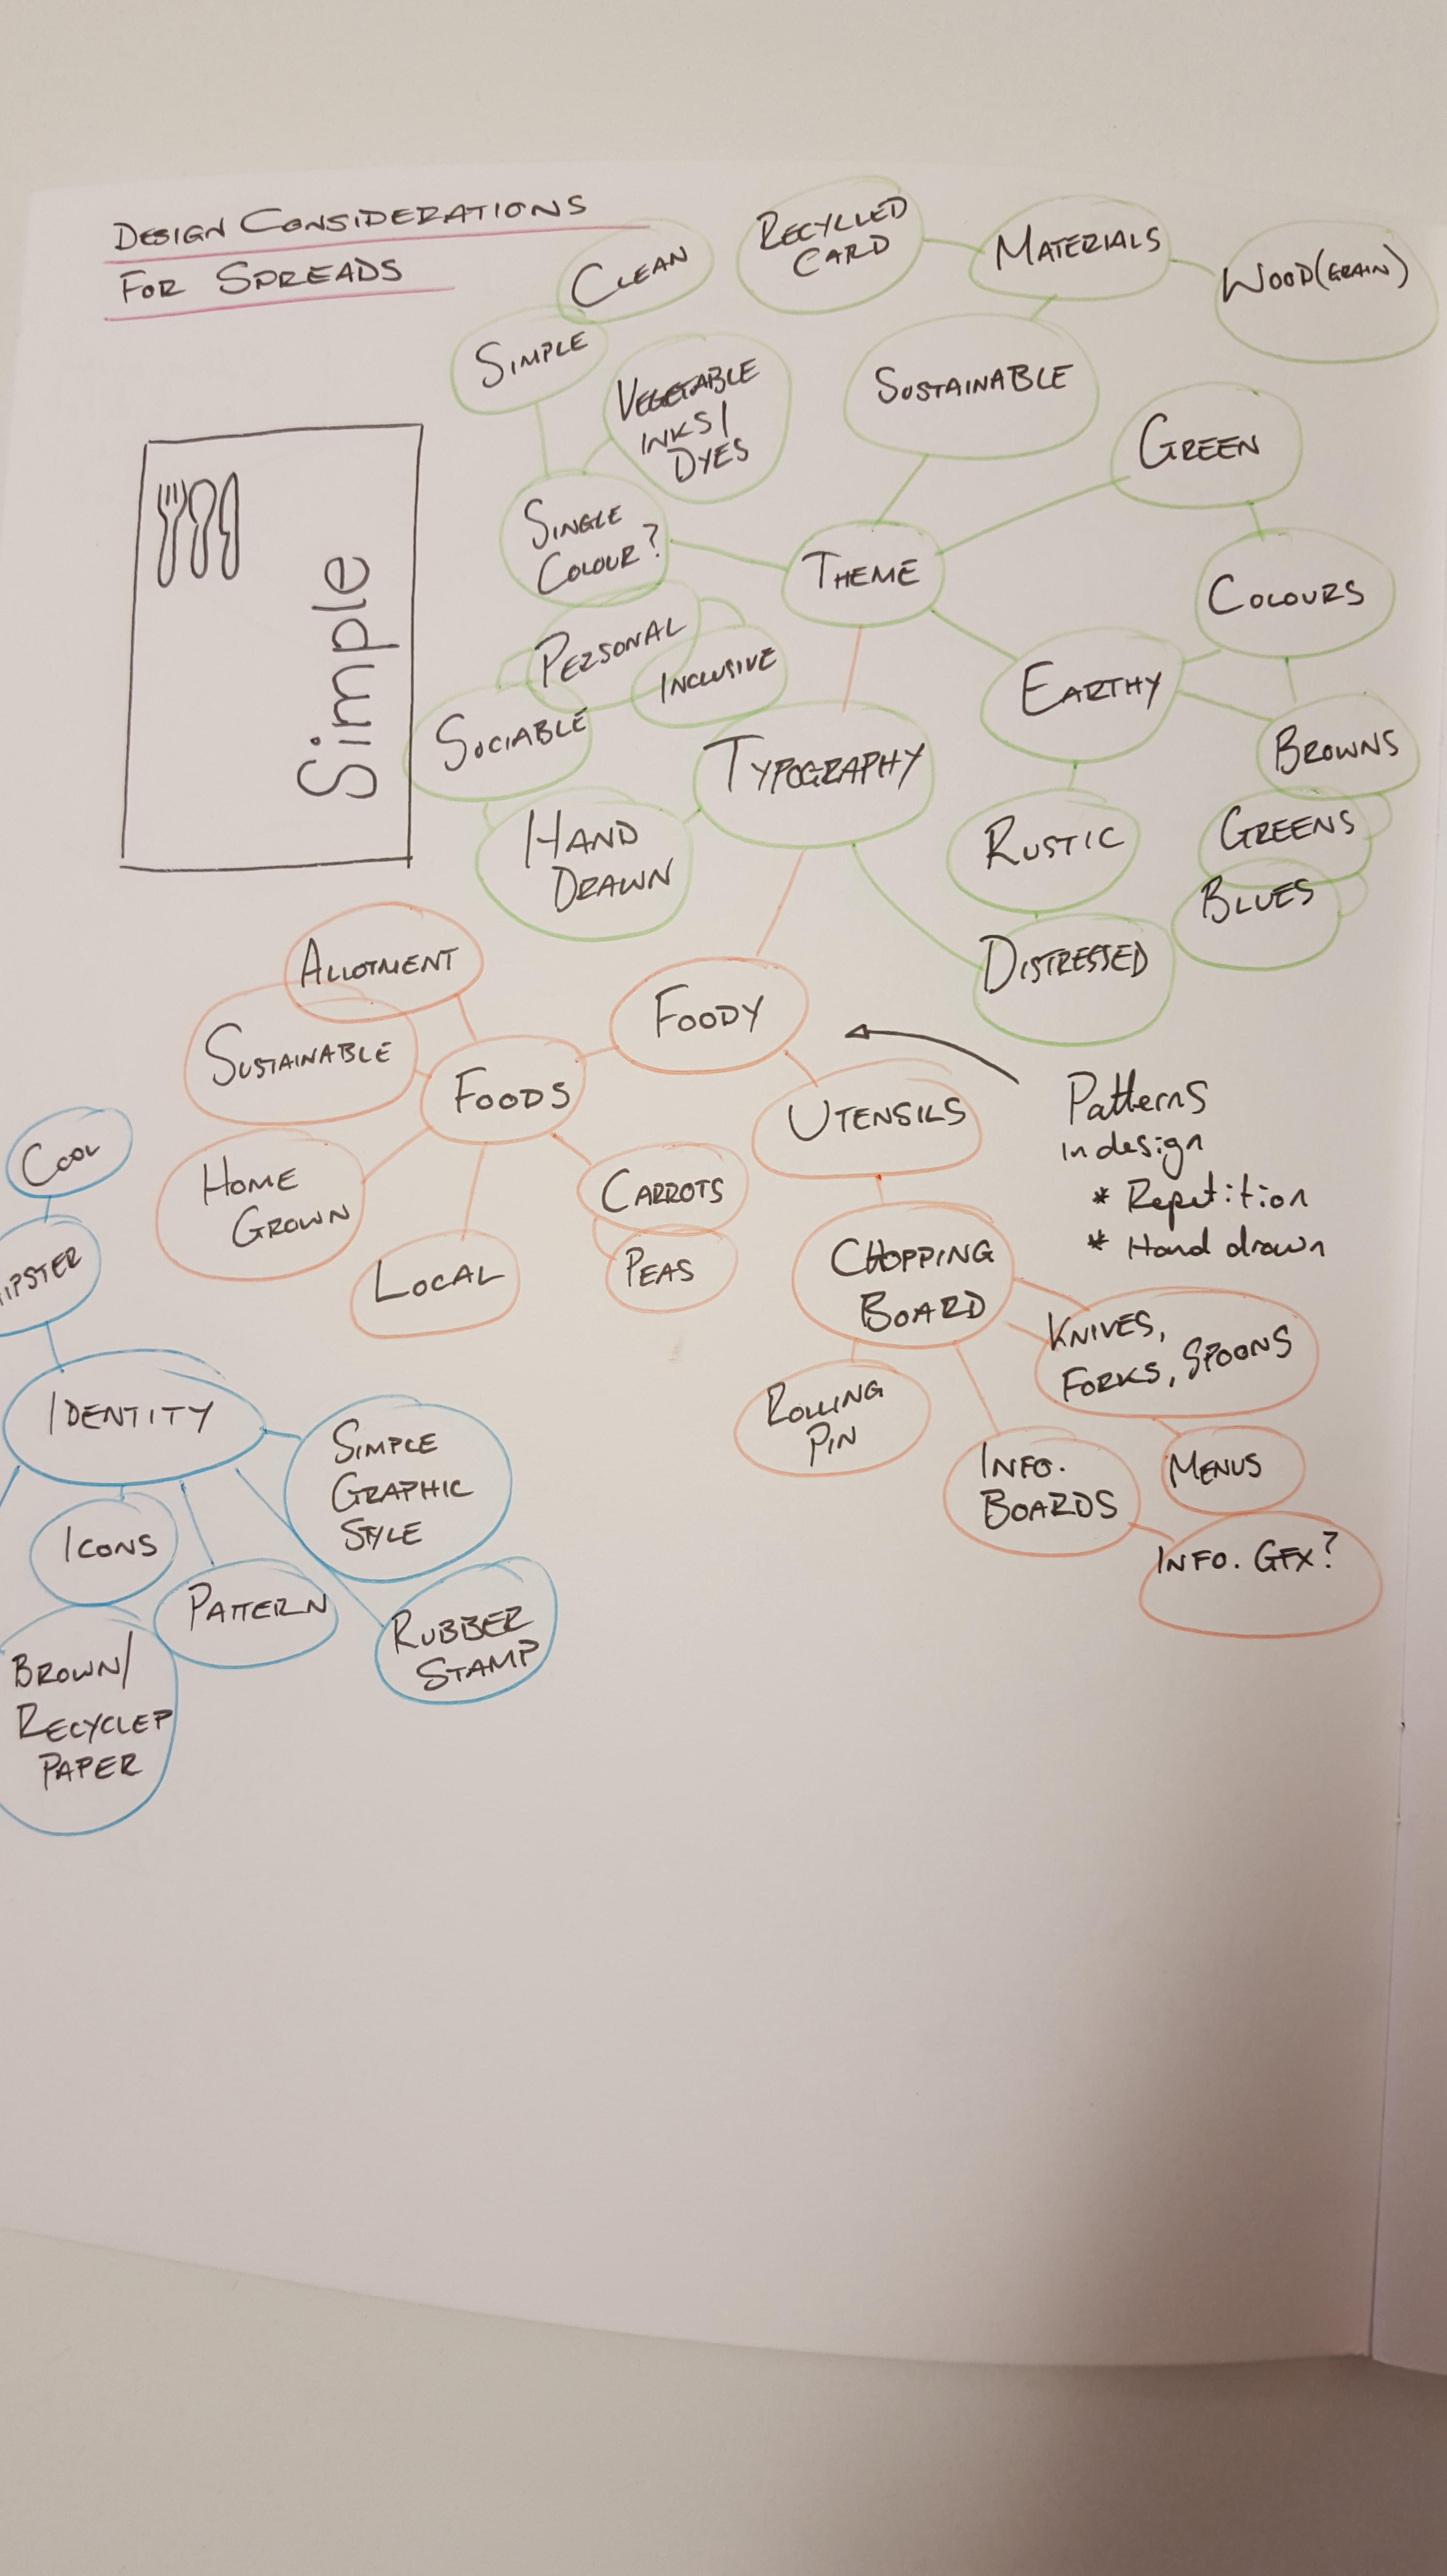
I noticed a theme to the iconography and graphical style used throughout Matthews website – Earthy tones, hand prints (hands on, hand made, eco), floral & hand drawn style typography, warm, rustic/distressed

Other considerations (for our Cob Oven)

How is the cob oven housed/could it be covered for use in all weather?

How high does it stand/could it stand?

How will the space around it be used?  Could we incorporate storage area’s or seating of some description.  The area is intended to be a social hub, so it could be about more than ‘just’ the Cob Oven.

Think of ways that people interact, socialise, drink, eat & play together

Cob House Documentary

Channel 4 made a short film about our cob house and how we built it. Click here to watch it now on 4OD.

(Source – http://www.cobcourses.com/cob-houses/watch-cob-house-documentary/)

Photo’s of existing designs

I found a number of images online of cob ovens that people have already built.  I selected a variety based on how they had creatively decorated the ovens, considered additional things like storage area’s/facilities, to weather covers and even seated areas.  Lot’s of inspiration to choose from

Other Links

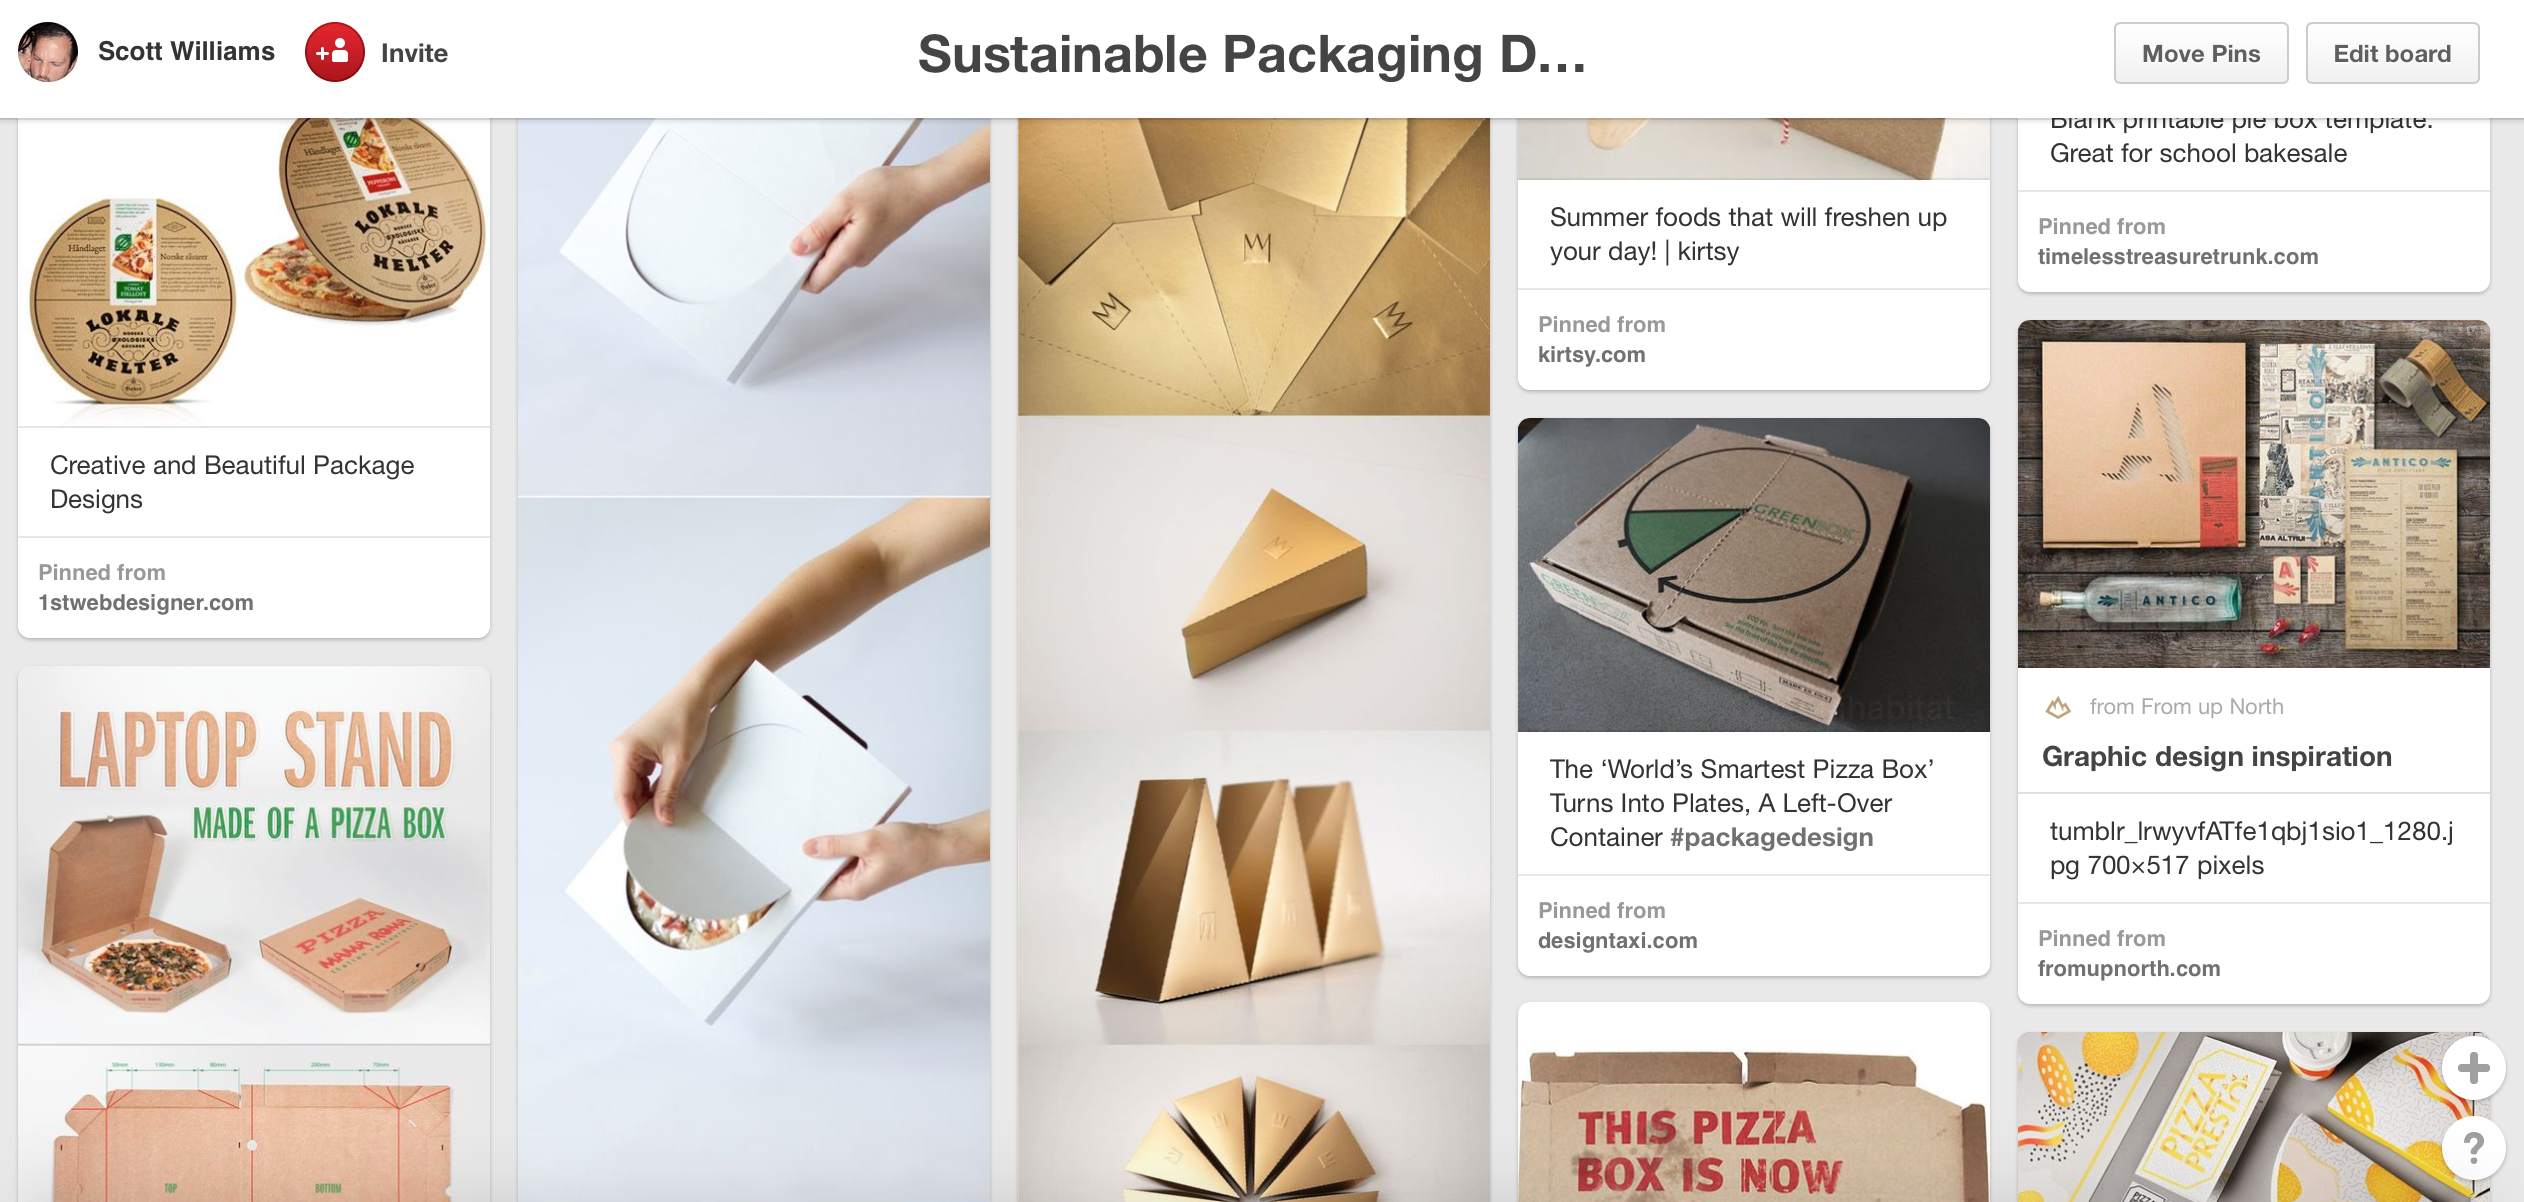
I also found a fantastic board on Pinterest which has loads of inspiration and information on builds, recipes, tips & more – Click here

Ideas for taglines

Matthew uses “Happiness is a Warm Cob Oven”, which I recognise as a reference to a Beatles song title; Happiness is a warm gun.  I like the playful nature of this idea, which is something I could incorporate.  He also references “Soul food” which is another evocative message of warmth, comfort and sharing.

  • Let’s get our cob on!
  • Food to warm your heart.
  • Green living never tasted so good.

Tips/Information for cooking in a Cob Oven

Many hours of cooking …

It takes a morning to fire up the oven, but once it’s up to heat it cooks for many hours, so it’s the perfect party and community activity. With one or two people stoking the fire, the others can work on preparing the food.

If you’re ravenous, the pizzas should be the first to go in as everyone can satisfy their first hunger within minutes. Then you can put in roasting joints, bigger than any one family might consider polite, or heaps of lamb, chicken or vegetables as kebabs or in hunks, on the bone or off.

Flatbreads work brilliantly well in a cob oven, but when it’s fired we also use ours to cook everyday sourdough loaves, baked potatoes and more.

But there’s no need to stick to savouries; sweet pies and tarts and crumbles are great, although you might struggle to make a decent sponge cake. When the oven starts to cool down you could try a tray of meringues. You can also use the last of the heat for drying mushrooms, tomatoes and other vegetables.

Firing the oven

  • You’ll need around 30 to 40 kilos of wood in short stick lengths for a day’s cooking.
  • Start the fire using paper or cardboard and thin pieces of kindling, keep adding kindling until you have a pile of freely burning material then gradually push it back into the body of the oven.
  • Leave the door off so that the fire can get the oxygen it needs, and the smoke can get out. Add sticks every half an hour until the oven has reached cooking heat which can take 3 to 4 hours.

Note: If the fire isn’t getting quite enough air to burn strongly, you can simply drill a few 10mm air holes at the back of the oven near the base to let more in.

  • At this point the outside of the dome will still be barely warm. When you (or an oven thermometer) think the oven is hot enough, rake out the ash and embers into a metal container and put safely out of reach. Then leave the over with the door on for 15 minutes to let the heat equalise.
  • If you’re going to cook directly on the oven floor and are worried about ash on your food, just wipe the oven floor with a wet rag on a stick.

(Source – http://www.theecologist.org/green_green_living/2422014/green_cooking_in_a_cob_oven_and_how_to_build_your_own.html)

What materials are used for fuel in a Cob Oven?

(Note this information is for a product called COBB, but the principles appear very similar)

Mostly wood is used, but different types can be used to add flavour/taste when smoking food.

COBB COBBLESTONE: This fuel is specifically manufactured for Cobb. It is manufactured from a renewable source – Coconut shell, Is quick and easy to light, burns hotter than charcoal briquettes and lasts for approx 2 hrs. (Perfect all rounder for both on plate cooking and general roasting).

ULTRA QUICK: This fuel has the same composition as the Cobblestone and burns for approx 1 1/2 hrs. (Perfect for on plate cooking).

GOOD QUALITY CHARCOAL BRIQUETTES: Use between 6 & 15 briquettes. For more heat use up to 15 briquettes. For baking use only 4-8 briquettes and keep the dome shaped lid on at all times in order to keep the heat in. Burns for approx 3 hrs.(Does not burn so hot as the Cobblestone but works well especially for those longer cook times).

RESTUARANT GRADE LUMPWOOD: Is a perfectly acceptable fuel source, a full fire basket will burn for up to 2 hrs.

DO NOT overfill the fire basket or put fuel in the moat. This will cause a fire and damage your Cobb

Lots of useful FAQ’s answered here.

(Source – http://www.cobb-bbq.co.uk/FAQ.aspx)

Simple Recipes

Cobs can be used to cook all manner of recipes, you can roast, braise, bake, simmer and grill just about anything you can think of:

  • Bread
  • Pizza
  • Roast Meats
  • Vegetables – e.g. Corn on the cob


Pizza Recipe

When people come on our pizza oven building courses they often ask for our secret pizza dough recipe. So we thought we’d share it with you. Charlotte Eve has been perfecting it over the past 10 years and over 4000 pizzas later she thinks she’s got it spot on!

Per person:

3oz plain strong flour

1/2 teaspoon fast action dried yeast

A tiny tip of a teaspoon of sugar

1/2 a teaspoon of salt

1/2 tablespoon olive oil

Some hand hot water

Method:

Sift the flour, salt, sugar and yeast into a mixing bowl. Then add the oil and water.

Mix into a ball and then knead and tear for about 10 minutes. Leave the dough covered in a bowl to rise for an hour and a half.

Then use a sharp knife to cut the dough into individual portions and roll out with a rolling pin. Use plenty of flour to stop your bases sticking. Some people use semolina under the bases to stop them sticking but we find it changes the texture of the pizza so we stick with using flour – we find it does not burn and works well.

Keep your toppings simple. if you want to add veg like peppers and mushrooms roast them first otherwise they release water on top of the pizza and it doesn’t have time to evaporate as your pizza will cook in literally 1 minute in your oven.

Use a pizza peel (you can get these in most cook shops) to slide your pizza into your wood fired outdoor cob oven!

(Source – http://www.cobcourses.com/pizza-ovens/our-pizza-recipe/)

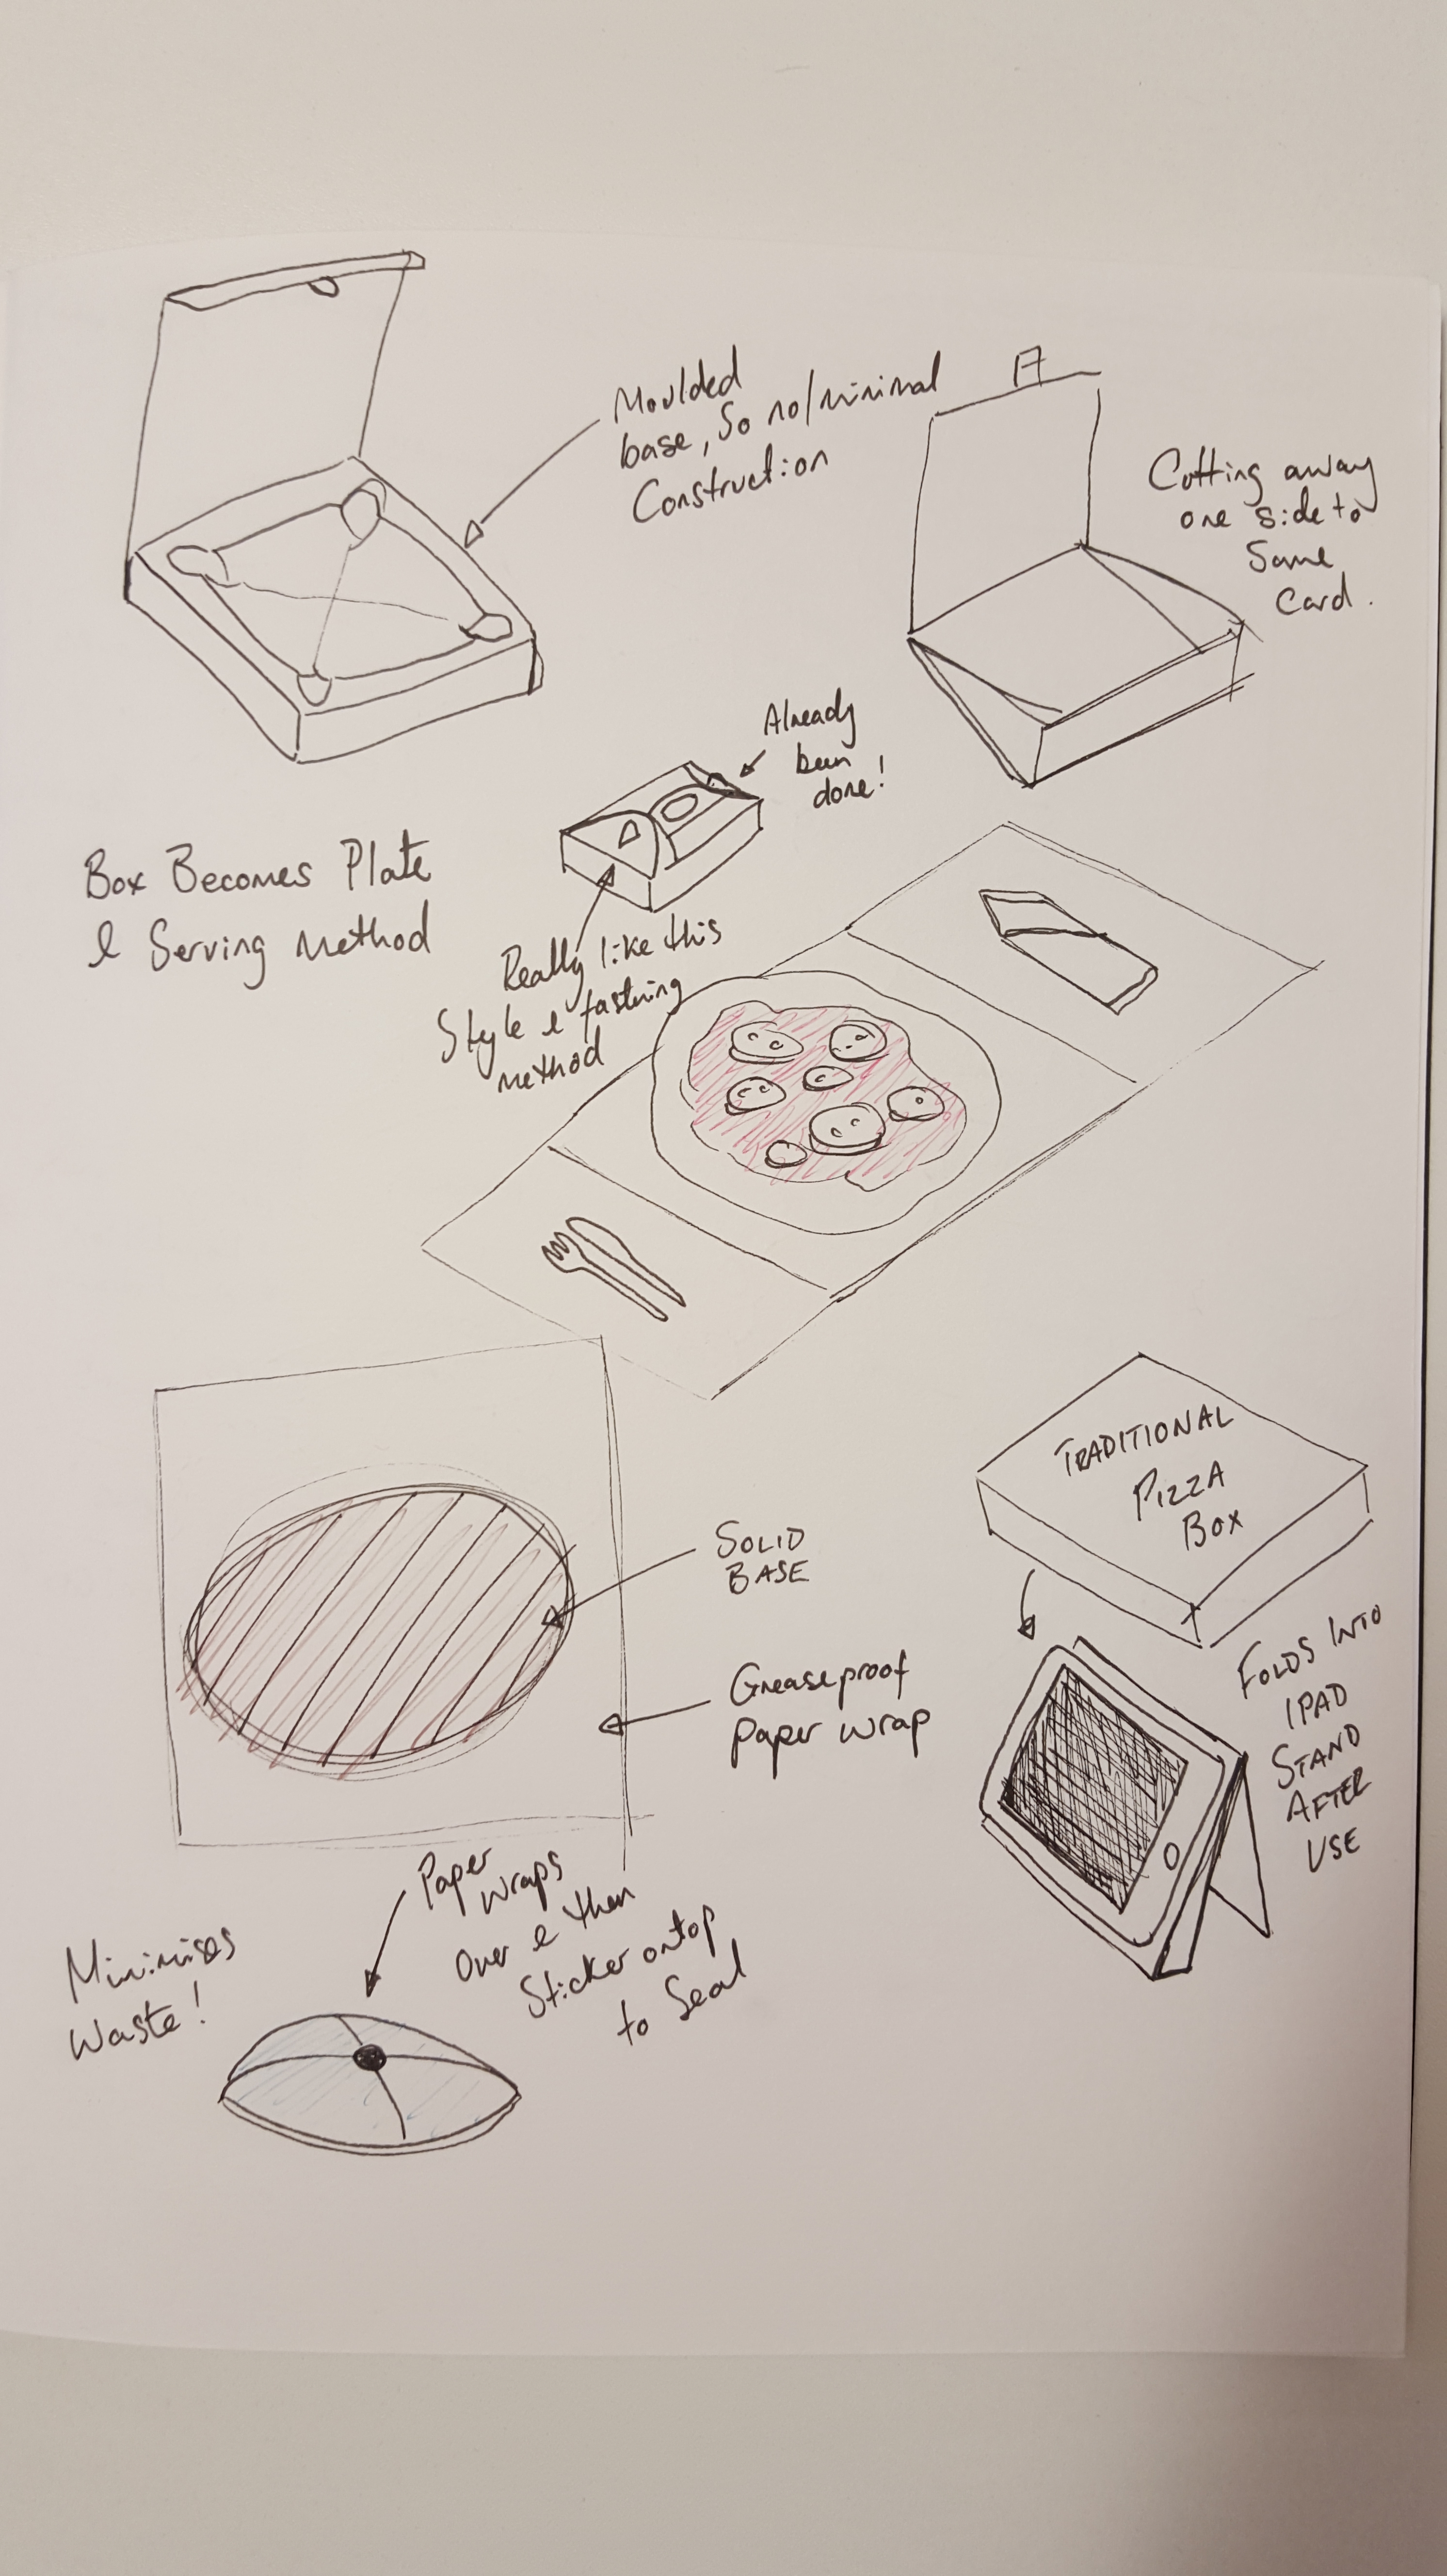
Things related to Cob Ovens/Cooking that could influence 3D artefact

Cooking utensils –

GDES3003 – Green Design – Week 5 Blog task

GDES3003 – Green Design – Week 5 Blog task

Ref 1 – London Bio Packaging  http://www.londonbiopackaging.com

Q – How many take away meals were consumed over the course of the 2012 Olympic Games?

A – 14 million

Q – How much waste to landfill were Olympics organisers expecting to have to go to landfill?

A – 8,500 tonnes

Q – How many pieces of packaging were needed for the games – and by supplying these what did LBF help the games achieve?

A – 120 million pieces, helped the 2012 games achieve zero waste to landfill by using their “closed loop” system.  All packaging responsibly made and responsibly disposed of using recycling and compostable methods.

Q – How many stages are there in their closed loop system? – What happens at each stage? – Is this appropriate for this company? If yes then please explain why you think so.

A – 5 stages : 1 – Supply – Ensuring that all disposable packaging is recyclable or compostable. 2 – Dispose – Close loop composting process used to collect, recycle or compost waste. 3 – Collect – LBP arranges waste collection. 4 – Process – They ensure waste is taken to correct facility so that it can be composted or recycled. 5 – Re-use – The compost collected is then distributed and re-used for agriculture to help grow new crops.

Q – What are Bioplastics ?

A – These are plastics made from plants. The starch contained within the plant is processed to produce a polymer.  Bio-plastics behave in a similar way to conventional plastics and are suitable for most packaging applications. However, unlike finite oil based plastics which take millions of years to form and hundreds of years to degrade, they are annually renewable and suitable for commercial compost (nature s way of recycling) within 12 weeks where facilities exist. The carbon footprint of Bio-plastic is therefore much lower than traditional petroleum based plastics.

Q – Look at the other materials LBP use. Could you order these in terms of most sustainable , explain why you ve ordered them like this on your post.

  • Plant Starch – Plant Starch Material (PSM) is a flexible bio based packaging material which has not been refined into a bio-plastic. It is made from renewable crops. 
  • Bio Plastics – As with PSM these are made from plant starch, but require refinement and so whilst they reduce carbon footprint and greenhouse gasses when compared to traditional methods, they still require substantial energy to produce.
  • Recycled Plastic – Reduces plastic going into landfill.
  • Recycled Paper – As well as diverting waste from landfill, sustainable forest paper ensures that the forests from which the paper comes and managed so as not destroy the forest, to promote biodiversity and protect any indigenous peoples.
  • Forest Wood – Reliant on above.
  • Palm Leaf – I have put this towards the bottom as I don t believe it is as efficient or sustainable in volume as some of the above materials.
  • Sugar Bagasse – I have put this as least sustainable as there is currently not adequateinformation on associated carbon emissions, although this this is a waste product, so it will by definition be saving carbon.

Q – What is PSM and what are it s key properties? Why is this useful?

A – Plant Starch Material (PSM) – A flexible bio based packaging material which has not been refined into a bio-plastic. It is made from renewable crops like corn or potatoes. PSM is heat resistant making it particularly suitable for hot food applications and ideal for bio disposable cutlery.

Q – What is sugar bagasse and how might it be turned into packaging?

A – The waste material produced once sugar cane has been harvested for the sugar syrup is called bagasse. This fibrous material is a renewable resource. There is not currently adequate information on the associated carbon emissions, but as this is a waste product, it will by definition be saving carbon as it replaces what would otherwise be a requirement for some virgin material manufacture.

Sugar bagasse is turned into packaging products from its raw form using a process of heating, pulping and then pressurised moulding. These are heat resistant and microwaveable making them ideal as hot food containers and best of all, naturally compostable.

Q – Pick one other material listed and explain what it is and what it s key properties and considerations are.

A – Recycled Plastic (rPET) – rPET (recycled polyethylene terephthalate) is the most common plastic that is being recycled back into primary applications (i.e. bottles recycled back into bottles and not down-cycled into lesser products like park furniture). Recycled plastics reduce the amount of fossil fuel resources, have a lower carbon footprint than virgin plastics, divert material from landfill and can themselves be recycled.

Ref 2 – Wrap   http://www.wrap.org.uk/

Q – Who are Wrap? Describe what they do in a paragraph.

A -Wrap are a charity and are effectively a middle man between governments, companies, communities & individuals who work to raise awareness and to bring about change with recycling and sustainable living practices for a brighter, cleaner future.

Q – What commercial sectors do they deal with and why ?

A -They work with hundreds of businesses and local authorities, trade associations and charities to deliver change.  They claim to be experts in establishing the facts, getting the right people working collaboratively to agree common goals, then converting ideas into real action and delivery on the ground.

They drive change in the areas where they feel they  can make the biggest difference:

Q  -Do they deal with the idea of a circular economy? If yes how do they aim to tally with these ideas?

A – Yes they do.  “A circular economy is an alternative to a traditional linear economy (make, use, dispose) in which we keep resources in use for as long as possible, extract the maximum value from them whilst in use, then recover and regenerate products and materials at the end of each service life.”

As well as creating new opportunities for growth, a more circular economy will:

  • reduce waste
  • drive greater resource productivity 
  • deliver a more competitive UK economy.
  • position the UK to better address emerging resource security/scarcity issues in the future. 
  • help reduce the environmental impacts of our production and consumption in both the UK and abroad. 

Q – What are Wrap s 3x key priority areas and what do they aim to do in these?

A – WRAP s vision is a world in which resources are used sustainably.

Their mission is to accelerate the move to a sustainable resource-efficient economy through:

  • re-inventing how we design, produce and sell products, 
  • re-thinking how we use and consume products, and 
  • re-defining what is possible through re-use and recycling 

Look at section 4 : Design for Re-Use, Recycling and Recovery.

Q – Describe 3 key considerations within design for re-use .

  • Ensure that the packaging is designed for and is robust enough for re-use.
  • Check that your business partners will also treat the packaging as re-usable and will return it as appropriate, or that collection arrangements are in place to enable private end-users to return it.
  • Could you re-use transport packaging in-house, for example, as trays in which consumers can take plants away from a garden centre?

Q – Describe 3 key considerations within design for recycling .

  • Try to design your packaging so that minimum product residues remain when the used packaging is collected for recycling.
  • Construct your packaging so that the end-user can easily separate any components that should not go into the recycling process ( design for disassembly ).
  • Try to avoid materials, combinations of materials or designs of packaging that might create problems in collecting, sorting or recycling.

Q – Describe how effective Metal, Glass, Paper and Board and Plastics are and which (in your eyes) of these may achieve the most effective award for recyclability.

A – I would say the most effective material is metal as it has a high recyclable content and can be re-used with no adverse affect on functional performance.  Glass also has a high recyclable value, but as it is often coloured it can limit it s re-use.  Paper and card often has to be thicker when recycled as it has less strength than virgin fibres.  Plastics seldom contain recyclable materials due to safety, although this is slowly changing as technology improves.

FURTHER INFORMATION

I have contained links to the videos suggested by my lecturer to keep all research together in one place for convenience.

Coke and packaging

  • Packaging used to provide exact measures, retain freshness/quality and ensure that the product is as good when it reaches you as it was when it left the factory.
  • 5.5 million dumpster trucks worth or waste goes to landfill in the UK every year.
  • Coke using over 30% less metal and plastic in the cans/bottles than 10 years ago.
  • Glass bottle is now lighter and stronger than ever thanks to new technologies.
  • Cuts in Co2 emissions equivalent to taking 1,000 cars a year off the roads.
  • Thermostat detects people walking by vending machines to regulate busy times & when more or less energy is needed.
  • Within 2-3 years Coca-Cola will be a zero waste to landfill company.

UPS Courier – Sustainable Packaging

Plastic wine container

Coke Plant Bottle

Local sustainable packager

http://www.biopac.co.uk/

GDES2014 – Children’s Book Design – Main Brief Final Concepts

GDES2014 – Children’s Book Design

WW1 Children’s Cookery Book Brief

This will be my final entry for this module as the deadline for submission is tomorrow.  I have included pictures of my final artwork for submission.

The Cover

After trying a few different options,  I ended up discarding this design as I felt tit was perhaps too sophisticated for the audience and that it wasn’t fun or engaging enough for your average 9-11 year old.

My final design features the famous ‘V’ for Vistory symbol, but with a twist. I used the carrots to suggest the cookery & home grown theme. I have used the sort of imagery that evokes a feeling of a bygone era. It demonstrates an aged look, patriotic undertones but also child like fun.

The typography originally looked too sterile and I noticed that a lot of children books feature playful type, so I did the same with the word “kitchen”. Private Pigeon also features on the front and rear covers, inviting the reader to don an apron and join him to cook.  Overall I wanted to create a feeling of fun and interest. The colour palette is drawn from the union jack, but aged to look old, but with a modern twist.

The Spread

The first and perhaps most important thing I setup on the spread was the grid an column structure. As I have an interest in publication and layout, I spent a lot of time researching grids and layout techniques, which unltimately informed my design.

I used the left page as an introduction to the recipe, but also to add some background, educational information. I used WW1 related imagery and illustrations throughout, such as the Sopwith Camel bi-plane, with a fun cloud typography treatment. The grid came into it’s own on the right hand page, which shows a sequential recipe to follow. I used medals to show which step you are on and old style postcards for the information, as the soldiers would have sent home from the trenches.

The background elements feature an authentic WW1 map, distressed/grungey textures and poppy fields.

I incorporated user testing here too. The feedback was helpful and actually informed the design somewhat, mostly typographical changes to improve legibility and to support the way children learn at school, i.e. using uppercase first letter and then lower case as opposed to all uppercase titles.  Overall I’m pretty happy with the way it turned out and the user feedback definitely helped refine it further

Activity Sheet

Continuing the ‘egg’ theme from the spread, I decided to create a drawing/colouring worksheet where the reader get’s to decorate their own egg, as the children of WW1 did. Private Pigeon offers some education information, whilst the decorative elements offer a little fun and inspiration to little minds.

Mock ups

I also created a few mock-ups to give a visual representation of how the finished articles may look. I also included the iPad mockup to show how an ePub or ebook may look.

GDES2014 – Children’s book design – Main brief part 5

GDES2014 – Children’s book design

WW1 recipe book – Researching children activity sheets

Part of the brief is to produce an activity sheet for children to complete, that ties into the theme of the spread and the book covers.

Puffin Books have a whole section of their website dedicated to children activity sheets, often based on the most well know characters like Willy Wonka or Diary of a Wimpy Kid.  Some of the activities include:

  • Plan a birthday party, with invites and create your own Willy Wonka top hat.
  • Wimpy kid – follow the lines to connect 2 items, spot the difference, suduko, colour in a kids shirt, how many words can you make from the phrase “Summer-Holiday”?
  • Charlie & Lola – Design Lolas dress, colour in silly hats, snap.
  • Others include colouring sheets, mazes, stickers, certificates, hidden objects etc.

http://www.puffin.co.uk

I like the idea of a certificate or award that the child can personalise.  I think an activity sheet with multiple things to do would be fun.

  • Pull the pin from the egg grenade
  • Make words from “Victory in the Kitchen”
  • Something to do with carrots or vegetables
  • Decorate your own egg etc
  • Recognise the different nations by plane markings
  • A mix of interesting facts and activities?

I found a number of examples of activity sheets that I like or could use in the creation of my own.


GDES2014 – Children’s Book Design – Main brief part 4

GDES2014 – Children’s Book Design

WW1 Recipe book brief – Further research

Existing Books

I looked at a number of children books as well as cookery books, Design books and historical references to the First World War.

The Cheeky Monkey book shows a good example of added features with the glove puppet plush toy that goes through the centre of the book.

The Roald Dahl books show very bold colours in the background and type elements, with Quentin Blakes simple illustrations over the top.  This creates a strong divide between the left and right of the cover but is then joined by the book title at the bottom that reads more traditionally (horizontally).

The David Walliams books feature Tony Ross’s amazing illustrations.  Each cover is similarr in that the top banner area is taken up by the authors name and then a large illustration below it.  Again strong colours are used for the backgrounds, but also feature some pattern elements such as stars.  The rosette is a nice touch too, which I may apply to my own design in the form of a medal.

I picked up the other books as they all feature some design elements that I feel may inspire my own cover design.  The Fateful year cover for example, features a lot of semiology to the time period from the type, to the illustration style, washed out colours and patriotic theme (flags, English Rose, Poppies etc).  I like the idea of using silhouettes as featured on “stories of the first world war”, perhaps in the form of a farmer digging, soldiers marching to war, standing over a grave etc.

The Line of Fire book is an illustrated diary and features a really nice, rough illustration style, which captures the gritty/dark nature of the time period.